Something that you are frequently asked to do (particularly if you are in one of my classes) is to either 'zip' or 'unzip' a file or folders. Invariably, when I ask people to zip a file or programming project to me, they respond in this fashion: "huh?"
What do we mean by zip and unzip?
As PC's evolved, file sizes became larger and larger. At first, most files could fit onto a single floppy diskette, but in time, even 1.44 Megabyte capacity of a 3 1/2 inch floppy wasn't enough for some larger files, and so an enterprising company devised a way to compress one or more large files into a single file of a much smaller size. This company, now called WinZip computing, offers its product (now called WinZip) in the Public Domain, which means you can download it for free, and if you like it, you should then register it and pay some reasonable amount of money (currently $29 for individuals).
WinZip is a wonderful product. It's not uncommon for a large file of several Megabytes in size to compress to one tenth that size. The bottom line was that a file that could not fit on a diskette could now comfortably fit on diskette. And it solves not only problems like this. For instance, with the advent of the Internet, much transfer of data takes place. People can now email files of all kinds to each other, and the larger the file(s), the longer the transmission takes. Compressing, or zipping files, makes sense for this reason also.
In this article, I'll show you how to download, install, zip and unzip files and folders. I highly encourage you to purchase the product. It's certainly one of the 10 best products I've ever used.
Where do I find this WinZip?
You won't find it in stores---remember, it's available in the Public Domain, and Public Domain programs are available for download over the Internet. You'll find WinZip at this Web Address
If you like, follow along with me now. Use your browser to connect to the WinZip website. This is what you should see. Notice that there is a link that says "Download Evaluation Version".
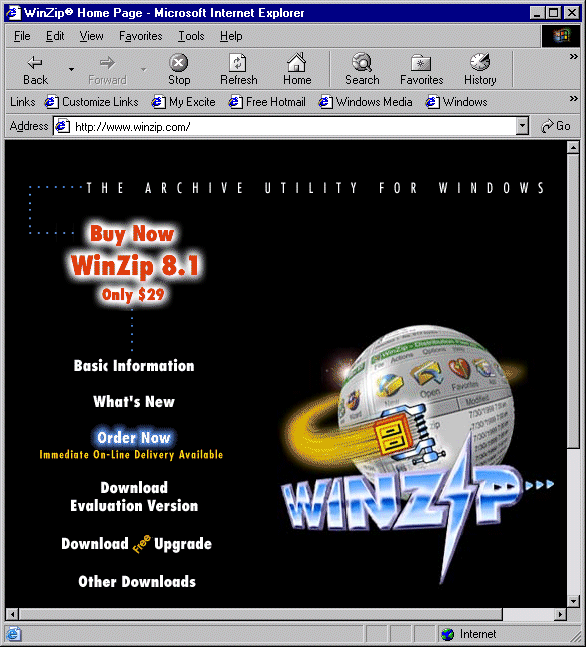
You'll probably want to try the product before using it, so select that hot link...

Downloading WinZip
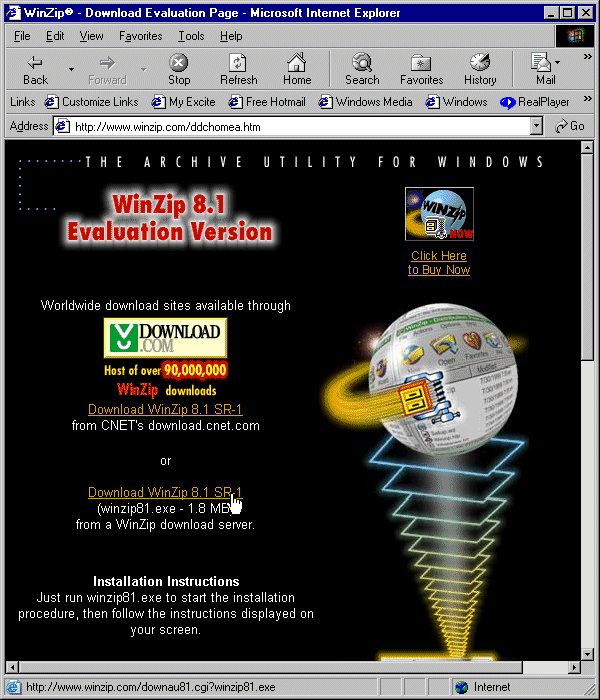
When you click on it, you'll see this window which asks you from where you wish to download the program. I prefer the WinZip website itself, so make that selection...
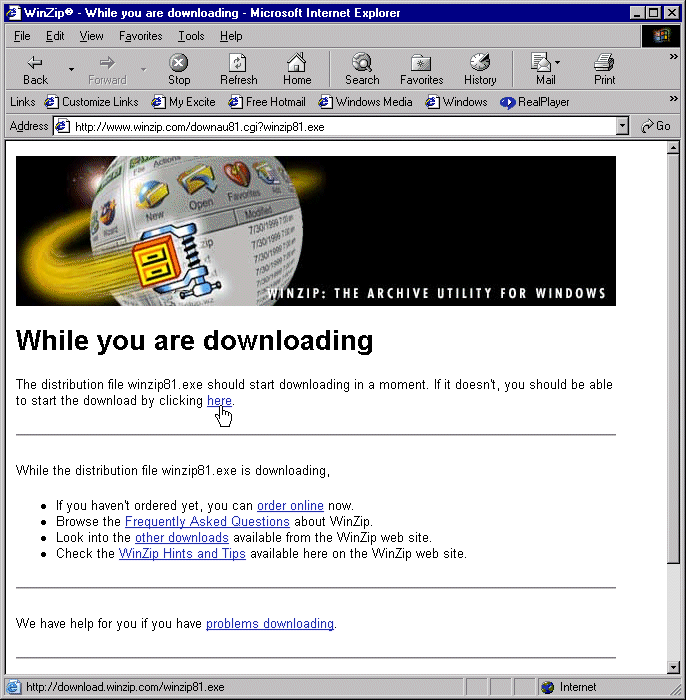
After you select the download location from a WinZip download server, this window will appear. Most likely, the download will immediately begin--but if it doesn't, click on the link that says 'here'...
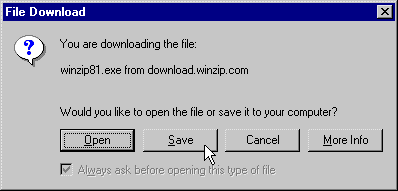
Once the download starts, you'll see this window. Select the Save button...
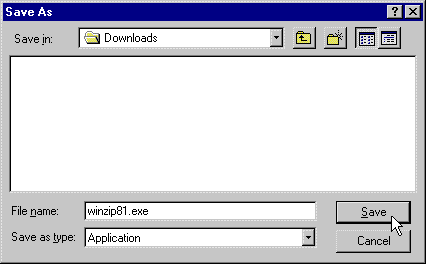
After selecting the Save button, this window will appear asking you to designate a location for the WinZip program. I like to save all of my downloads into a Downloads directory, but you can save the WinZip download program wherever you wish. When you install the program, it will be installed in another directory anyway. Specify your location, and then click on the Save button...
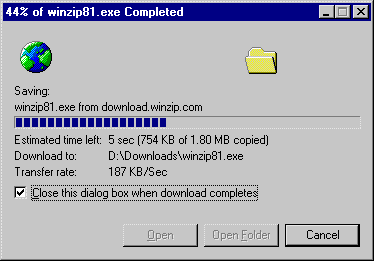
When you click on the Save button, this window will appear, to let you know that the download has begun. The download file isn't very big, so the download shouldn't take too long. Notice in the screen shot that I have checked on the check box that indicates the dialog box should close when the download completes. This sometimes causes people to believe that the download failed. If you check this on, the dialog box will disappear when the download is complete.
Installing Winzip
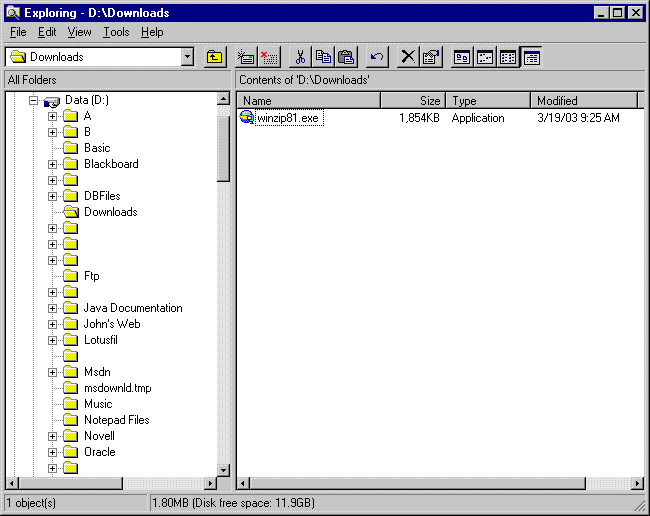
With the download complete, now you need to install Winzip. To do so, use Windows Explorer (not Internet Explorer, we're done with that now) to make your way to the folder into which you downloaded the Winzip program (winzip81.exe). In my case, it's the Downloads folder of the 'D' drive...
Double click on the Winzip download file to begin the installation--you should see this window. Click on the Setup button to begin the installation.

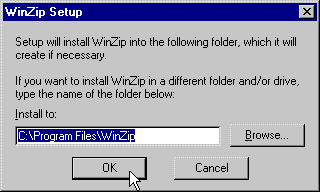
When you do, this window will appear asking you to confirm the location for the installation. Unless you have a good reason to change it, accept the default and click on the OK button...
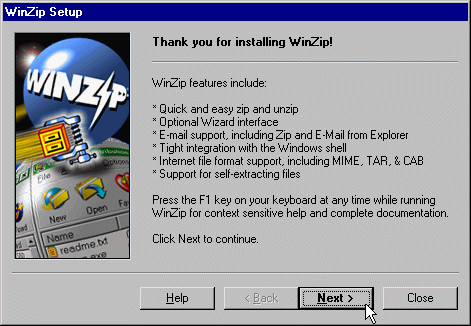
When you do, this window will appear...just click the Next button to continue...
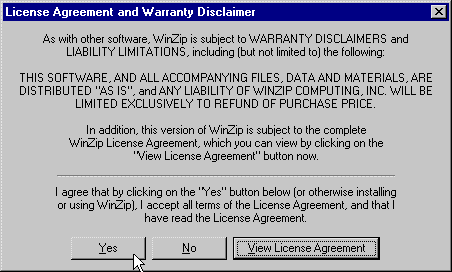
This window will then appear asking you to agree to the license. You have no choice but to click the Yes button...
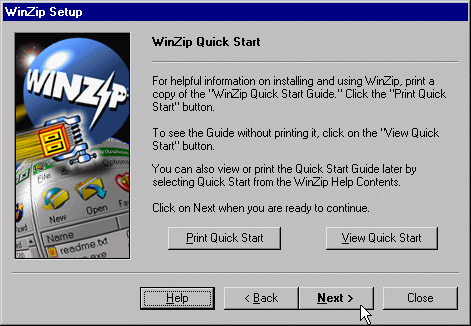
When you do, this window will appear asking you if you would like to Print or View the Quick Start manual. Just click on the Next button...
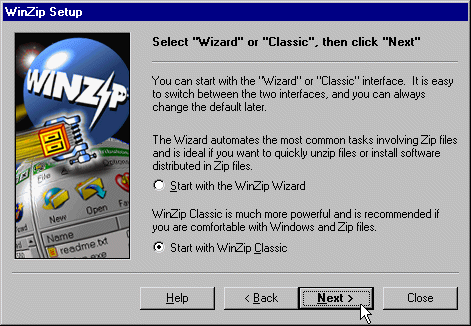
which will result in this window appearing. It's asking your preferences for the 'look and feel' of WinZip. Personally, I prefer WinZip Classic, so select the bottom Radio Button (Start with WinZip Classic) and click on the Next button...
Select the Express setup Radio Button and click on the Next button...
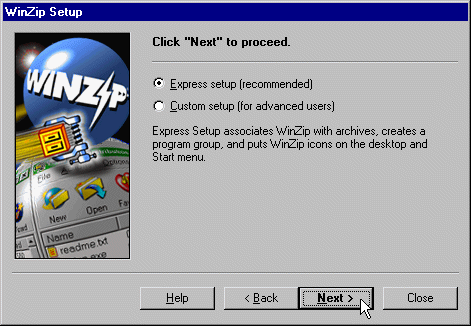
This window will then appear telling you that the installation is successful--click on the Finish button.
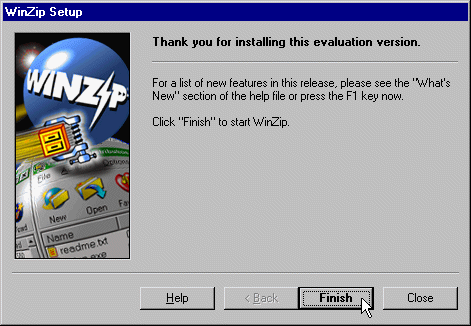
This informational message appears. Just click on the Close Button.
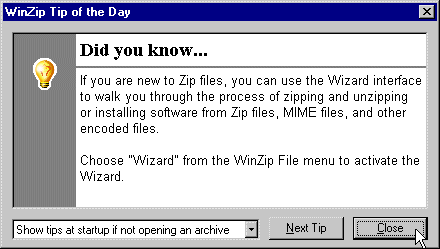
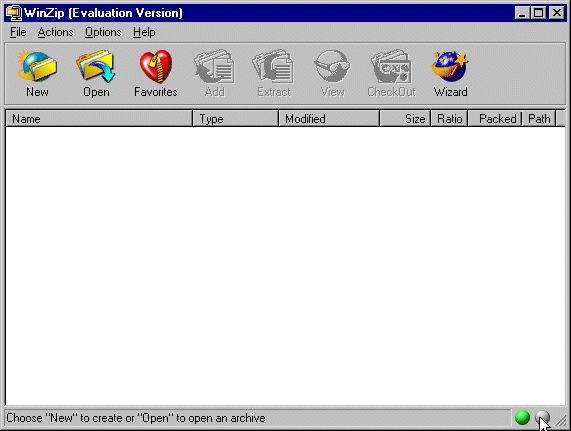
This window will then appear. This is the WinZip program itself--but for our purposes, we won't be using it this way. Close the program.
Zipping Files and Folders
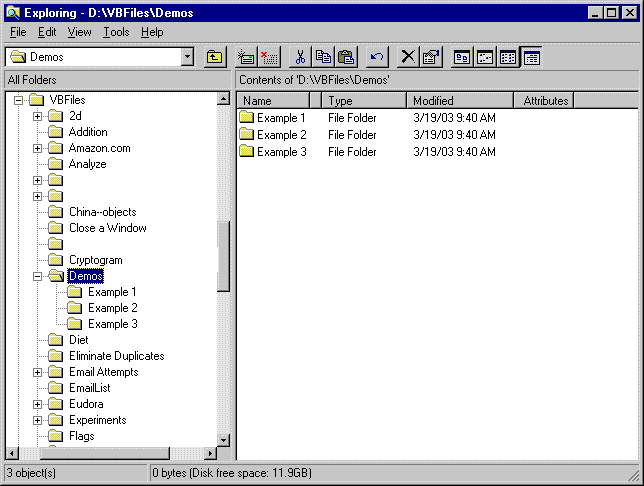
With WinZip installed, now it's time to see what this 'zipping' is all about. For demonstration purposes, I've create a folder within my VBFiles folder called Demos, with subfolders called Example1, Example2, and Example3.
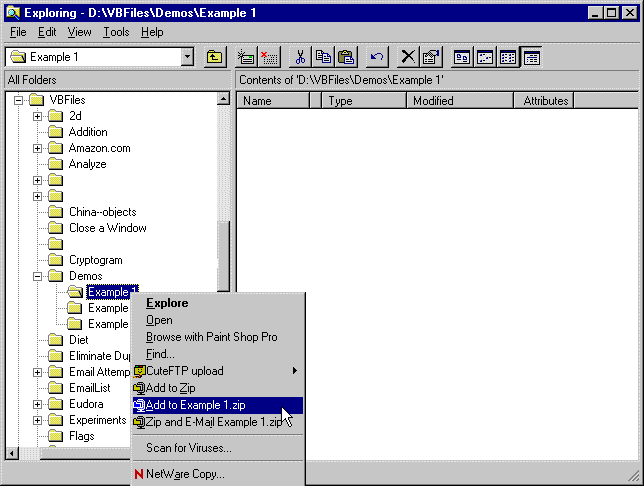
You can choose to 'zip' individual files or folders---the process is the same. Use Windows Explorer to select either a file or a folder, then right click your mouse. In this example, I wish to zip the folder called Example1. Notice that the popup menu includes an item called 'Add to Example1.zip'. WinZip is smart enough to name the zip file with the same name as the folder. Let's select that option.
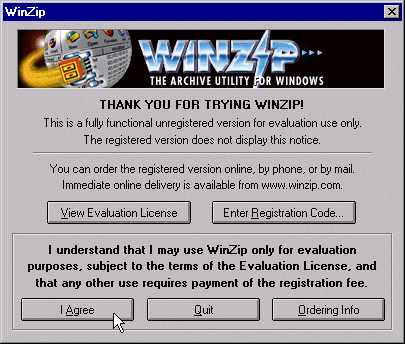
When we do, this window will appear, reminding us that we are using an evaluation copy (don't forget to purchase it if you like it). Click on the I Agree button...
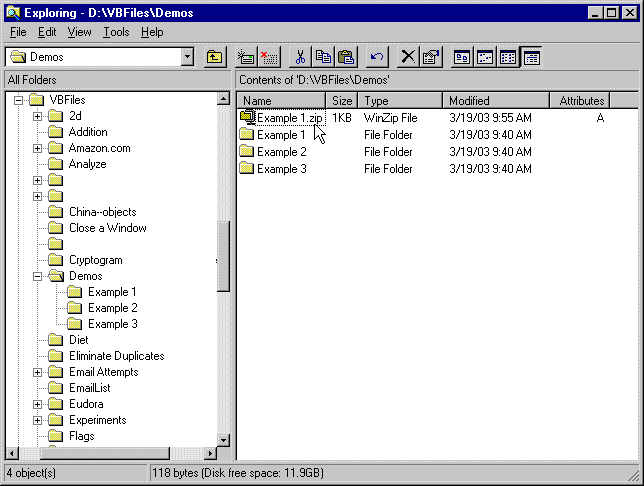
You may not see any obvious evidence that the zip of your folder has occurred--but if you look in the Demos folder, you'll see the zipped file, ending with an extension of .zip, and having the distinct icon for a zip file. In the event that I had asked you to compress or zip a folder or file, this is what you would either email to me or post as an attachment to a message.
Un-zipping Files and Folders
Quite frequently, you will either receive or download zip files. For instance, in many of my Internet based classes, students post homework and assignments as zip files, and I and the other students can then download and un-zip them to view them. For the purposes of this phase of our demonstration, I'm going to presume that you have downloaded a zip file called Mary's Program.zip into the Demos folder.
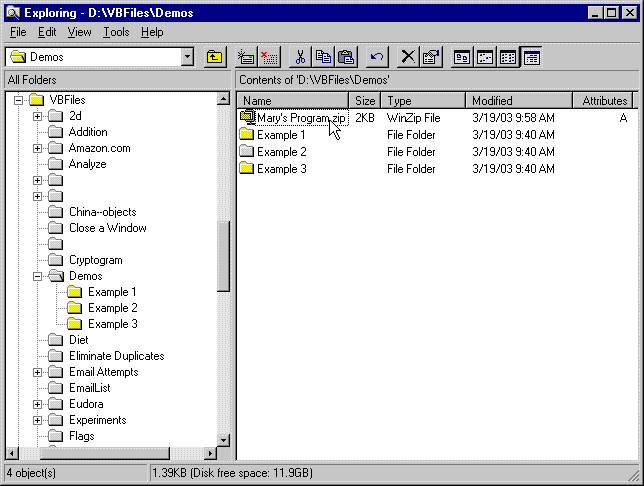
Un-zipping a file can be a little more confusing than just zipping it. A zipped folder, in particular, can be confusing because if the zip file contains subfolders, the structure of the subfolders is maintained when the zip file is unzipped. In other words, if you have a zip file containing a folder called A, with subfolders A1, A2 and A3, and A1 has subfolders called B1, B2 and B3, that folder structure will be created when the file is unzipped. We're about to set a default parameter of WinZip to tell it to place the unzipped files or folders in the folder in which the archive (zip file) resides. This is something you should think about--you may want to have the archive file unzipped somewhere else--like the root directory. As you'll also see, you do have the opportunity to specify the location before the archived is unzipped.
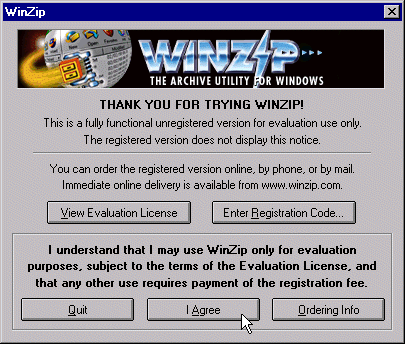
To unzip the archive, jut double-click on the zip file. When you do, this familiar window will appear, asking you to agree to the licensing, and reminding you that you haven't paid for the product :)
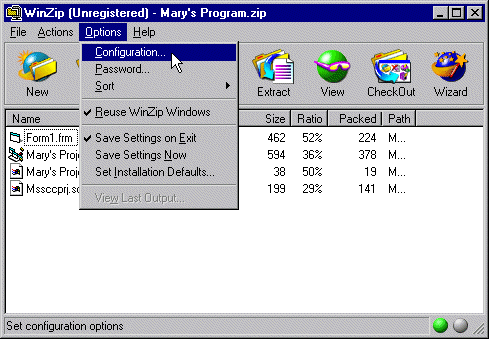
Click on the I Agree button, and this window will appear. We want to tell WinZip to 'unzip' our archives into the folder in which the zip file resides. To do that, click on the Options-Configuration menu item of the Menu Bar.
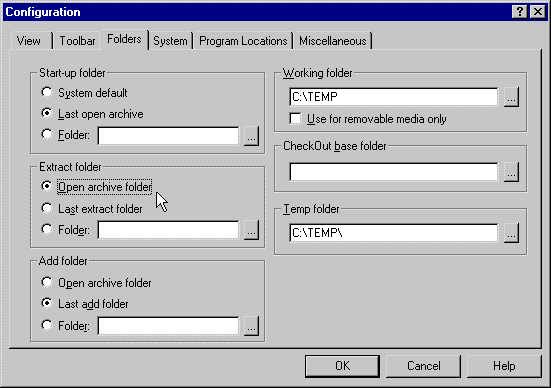
Select 'Open archive folder' in the Extract folder pane, then click on the OK button.
Back to this window, select all of the files within the archive file that you wish to unzip (extract). In most cases, it will be all of them. Once selected, click on the Extract button on the Toolbar...
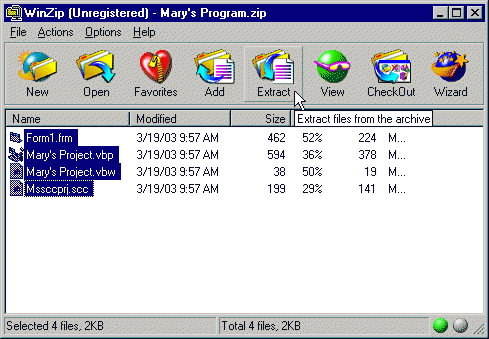
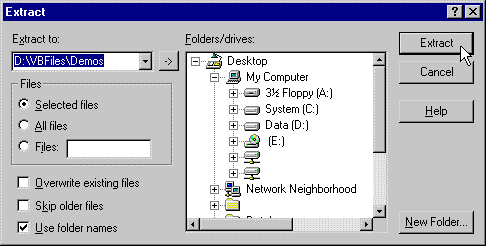
This window appears, confirming the location where the files will be extracted. You can change them here if you wish. If the location is OK, click on the Extract button...
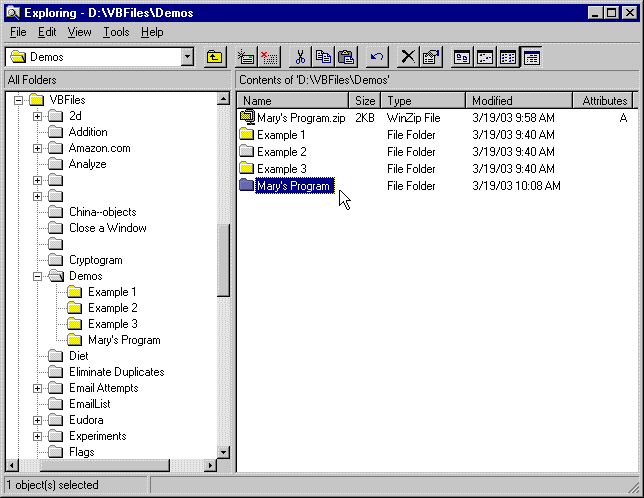
As you can see, a folder with the files in it has been created for us--exactly where we specified. That's all there is to it!
Summary
I hope you've enjoyed this article. If you did, click the PayPal button below to contribute $1 to my Website.