|
Download and Install the Java Developer's Kit (JDK) Java is a great language to
learn---unfortunately, probably the most difficult aspect of
learning Java is leaning how to install it and configure it so that
you can get up and running. This article is intended to get you up
and running, and to show you how to compile your first program.
After that, I hope you buy my book , Learn
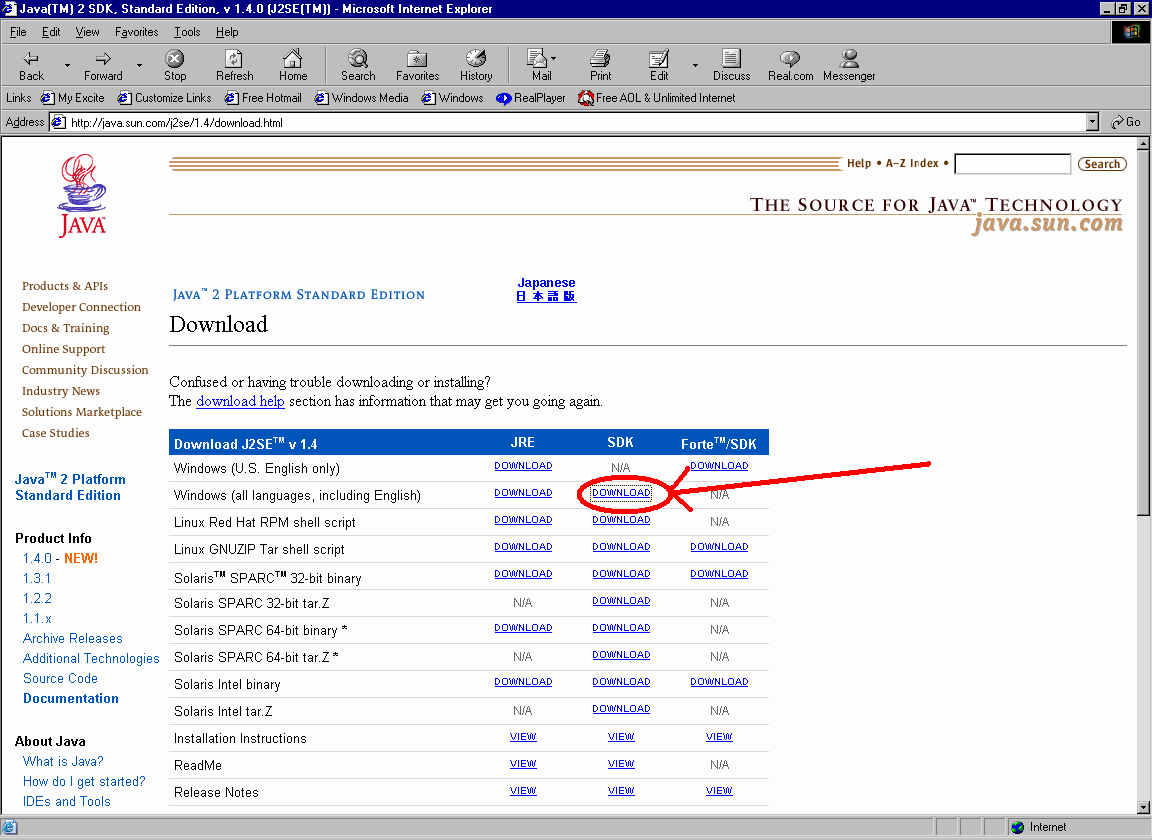
to Program with Java, so that you can learn even more. There are versions of Java that will run on virtually any PC---various versions of Windows, Unix, Linux, even the Macintosh. For the purposes of this article, I'll presume you're running Windows (as I am). Find the Java Software Development Kit (SDK) Right now, the latest and greatest version of Java available for download is 1.4.0. Start with this link to find out more about it http://java.sun.com/j2se/1.4/You can access the download page directly via this link http://java.sun.com/j2se/1.4/download.htmlFrom this page, to select the Windows Download, find the row that reads Windows (all languages, including English) and then select the download link for the SDK which should be the second column (don't select the SRE column--that's the runtime version of Java--you won't be able to do any development).
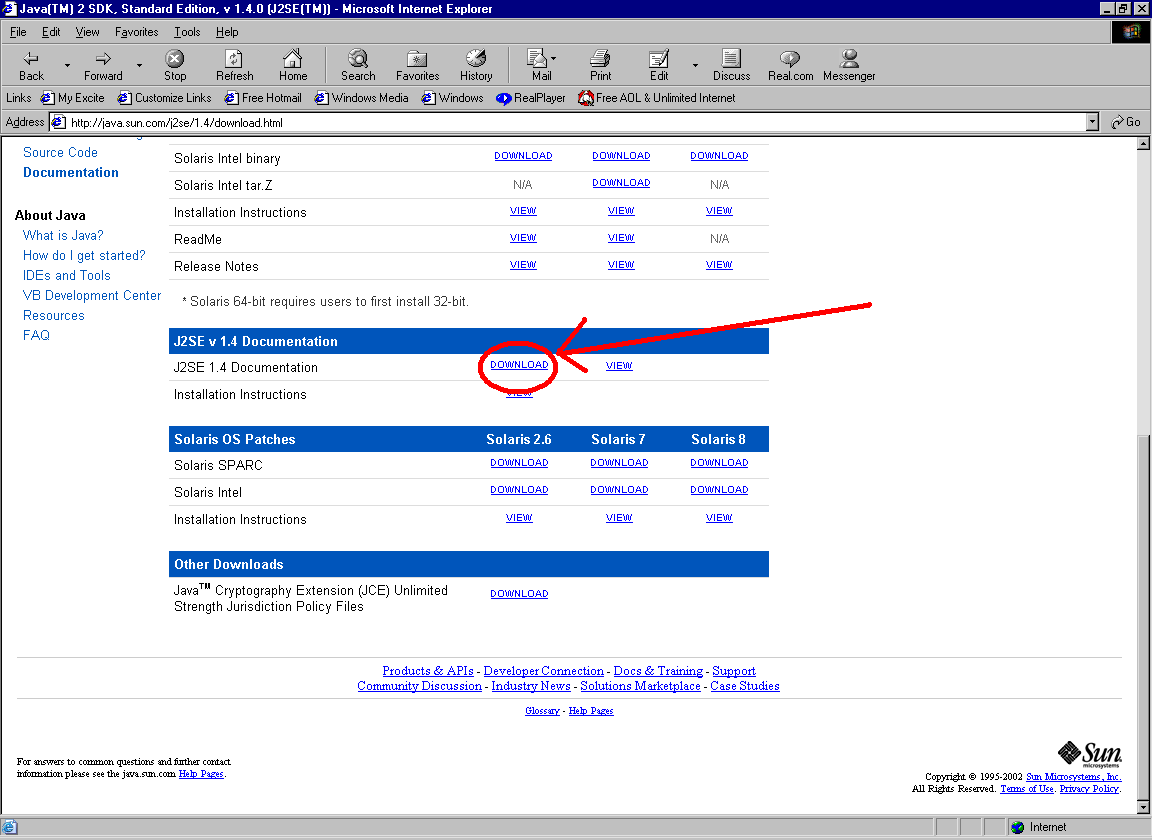
By the way, you can also download a full featured Documentation set from this download page also---towards the bottom of the page, you should see a reference to J2SE 1.4 Documentation
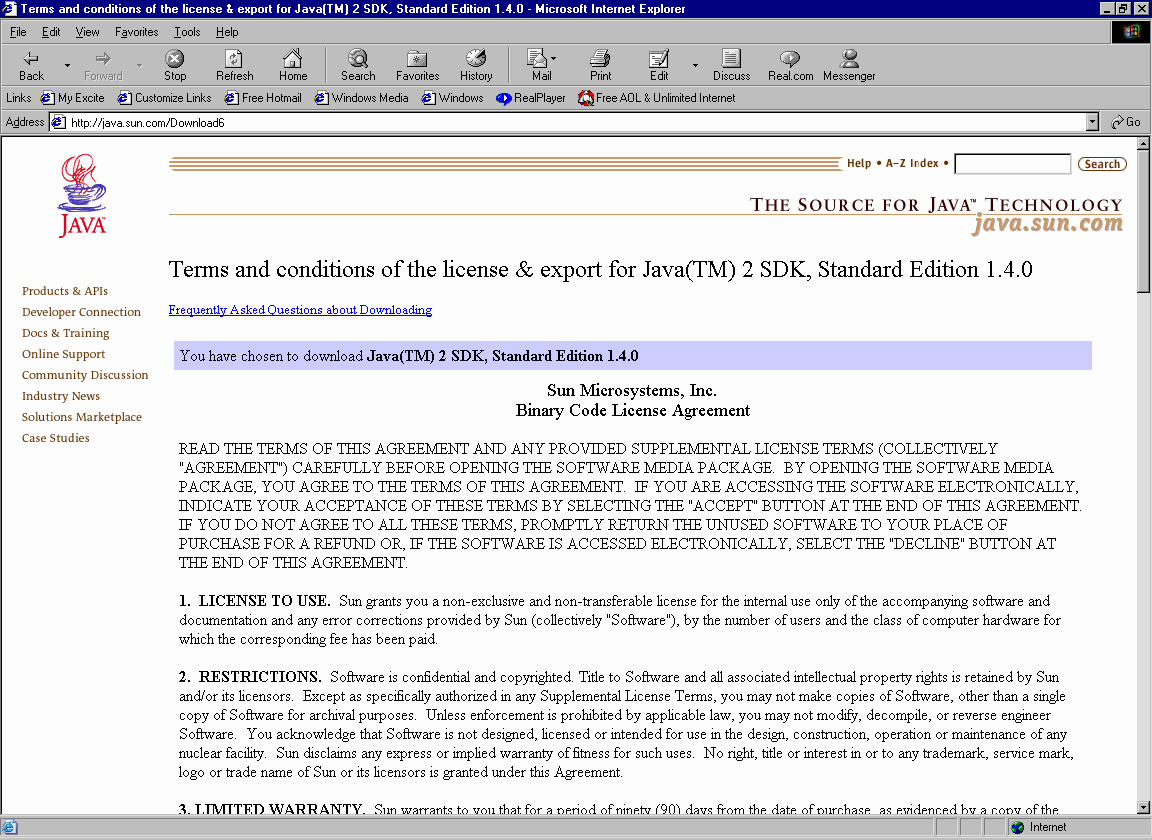
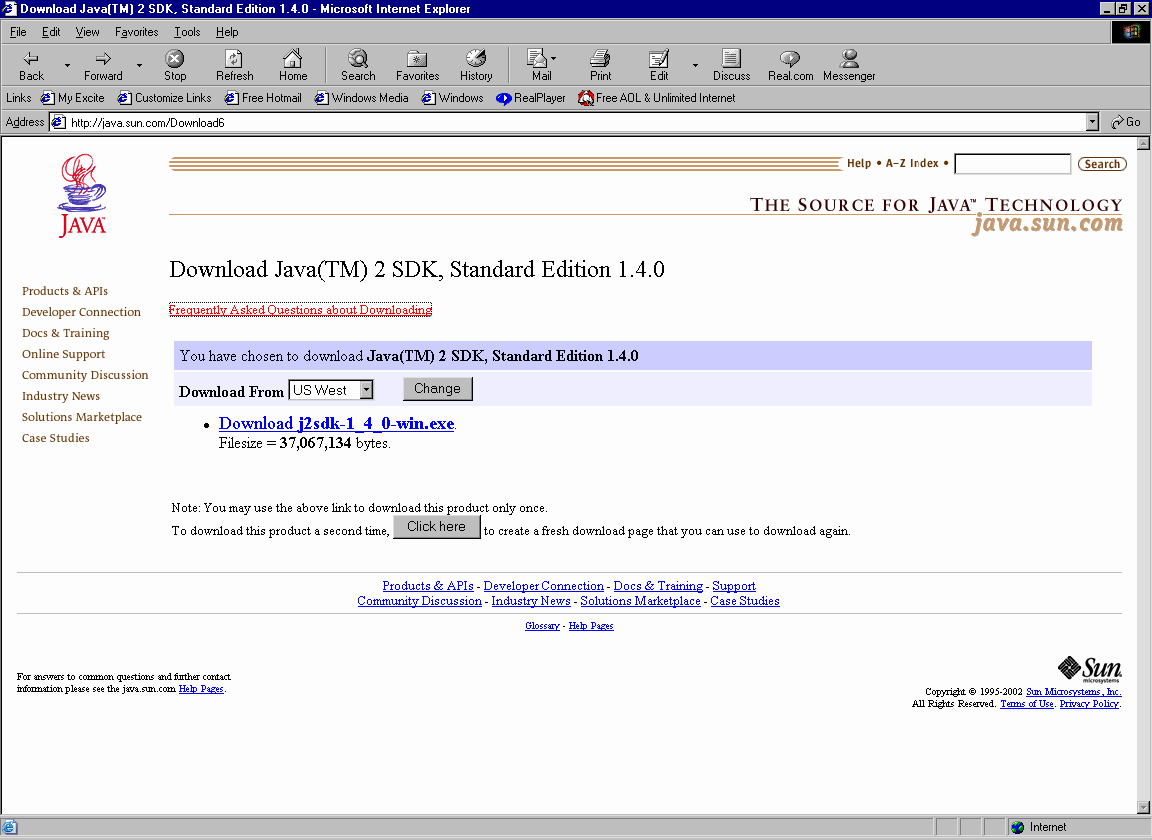
After you have installed and configured your Java SDK, then come back here and download an install the documentation. Download the Java Software Development Kit (SDK) Now that you've found the Java SDK, you'll need to download it. I must warn you that the download is very large, about 37,067,134 bytes (one reason to order the CD from Sun if you can figure out how to do it). Click on the download link and you should see this page
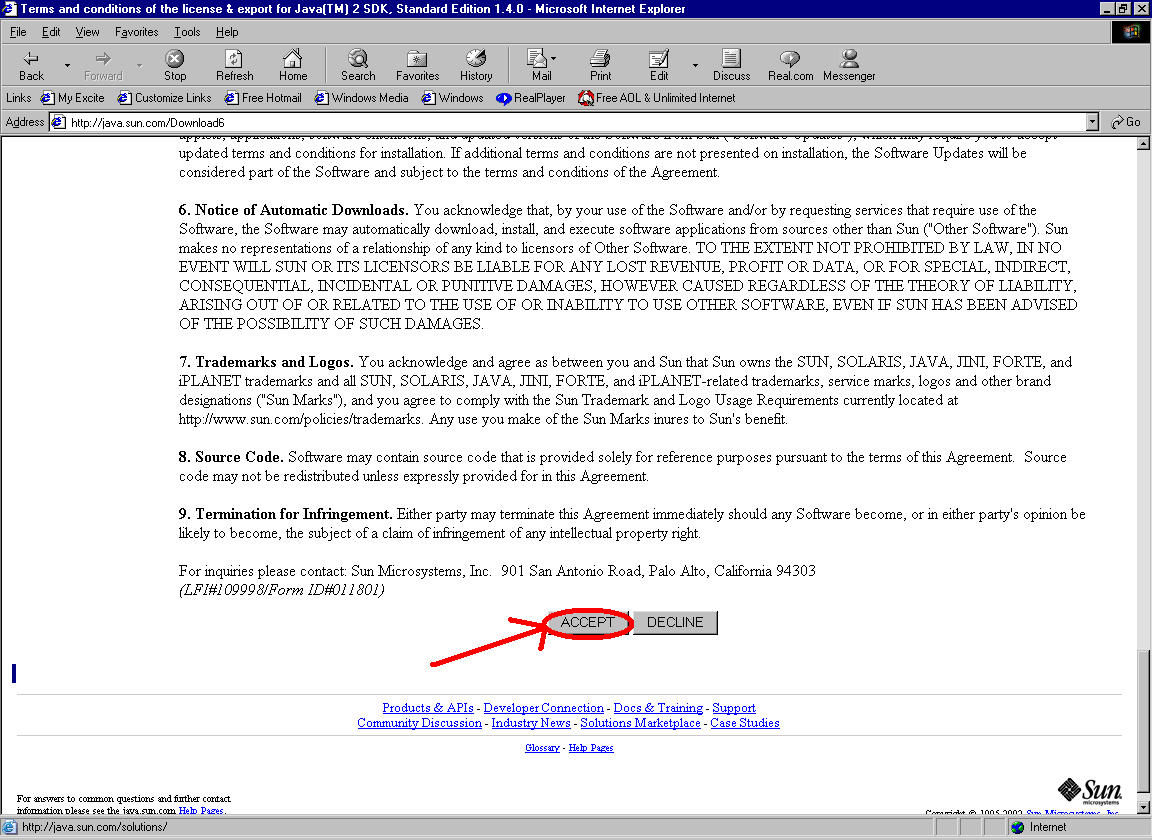
--read it, and if you agree to it, click on the Accept button
After you click on the Accept button, you should see this window…
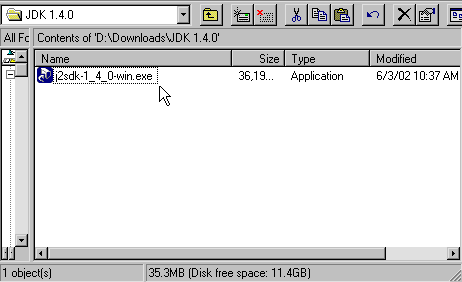
click on the link that says 'Download j2skd-1_4_1-win.exe. Depending upon your Internet browser, you'll be prompted in different ways to save the download file---I like to save my downloads in a folder called 'Downloads'---I saved mine in \DOWNLOADS\JDK 1.4.0. Depending upon the speed of your Internet connection, you can wait anywhere from 3 minutes to 24 hours for the file to be downloaded. Once it's downloaded, find it on your PC, and double click on it to begin your Java installation.
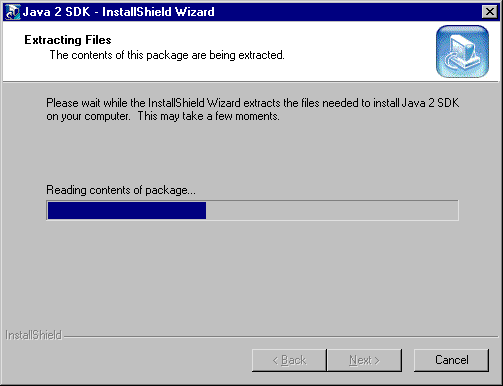
You should now see this window, indicating that the installation process is beginning…
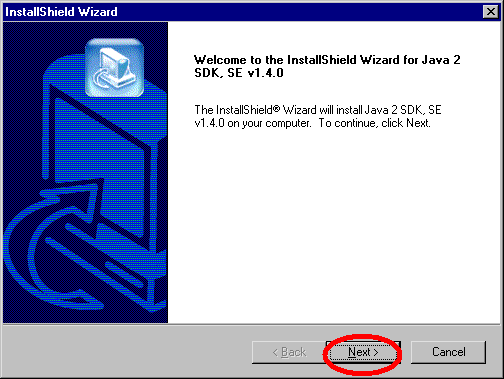
followed by this one…
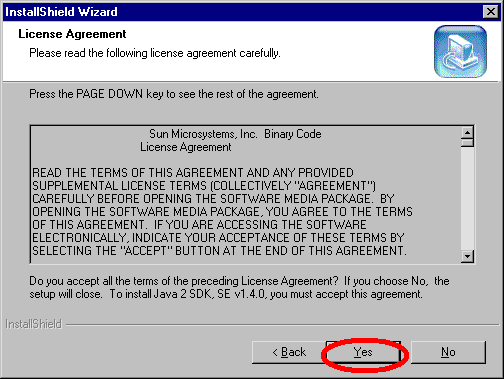
Click on the next button read the agreement and click on the Yes button……
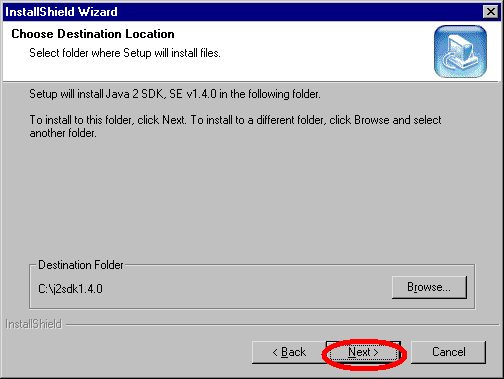
This window will appear, asking you where you wish to install Java--it's a GOOD IDEA to accept the default---things seem to go smoother that way. Click on the Next button to continue…
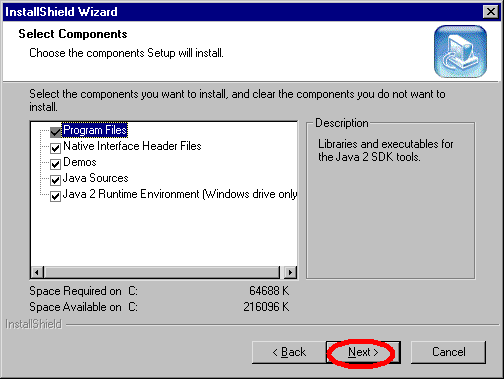
This window will appear, asking you where you wish to install Java--it's a GOOD IDEA to accept the default---things seem to go smoother that way. Click on the Next button to continue, and this window will appear, asking you which of the Java components you wish to install. Again, it's a good idea to select all of them. As you can see, it will take about 65 Megabytes of space to do the full install. Click on the Next button to continue.
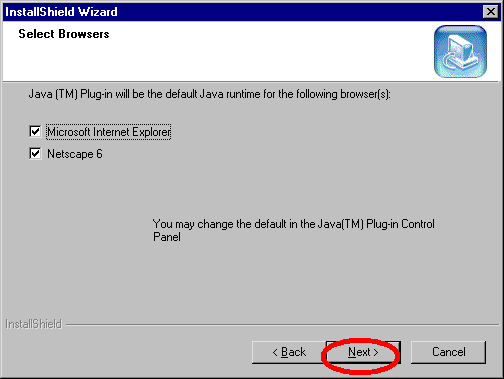
The next window displayed will vary according to the number and type of Web Browsers installed---as you can see, I have both Netscape and Internet Explorer installed--click on the Next button to continue…
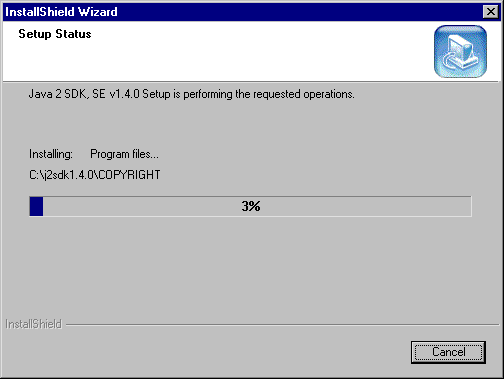
After clicking on the Next button, you should see this window indicating that the Setup is proceeding…
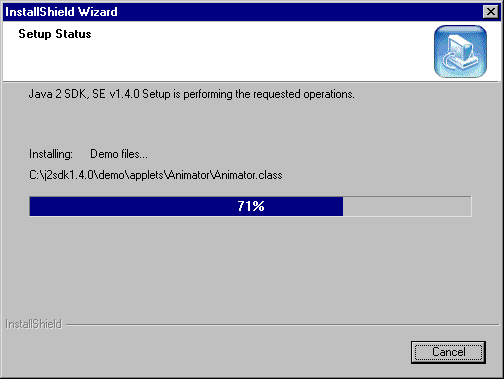
…and that the Java installation is proceeding…
When the installation approaches 100%, you'll see this window indicating that the Runtime Environment is being setup
…followed by this window indicating the Runtime Environment setup was successful.
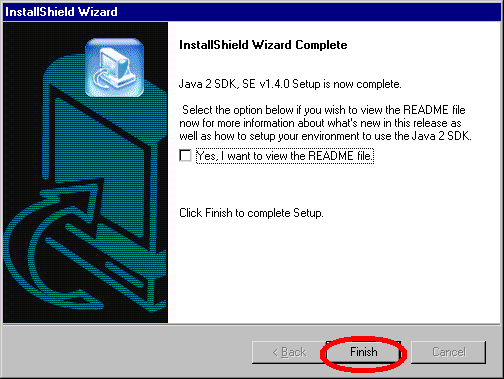
Finally, this window will indicate that Java has been successfully installed. Click on the Finish button.
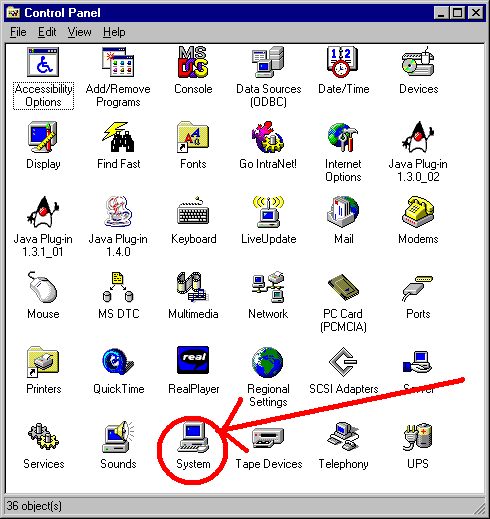
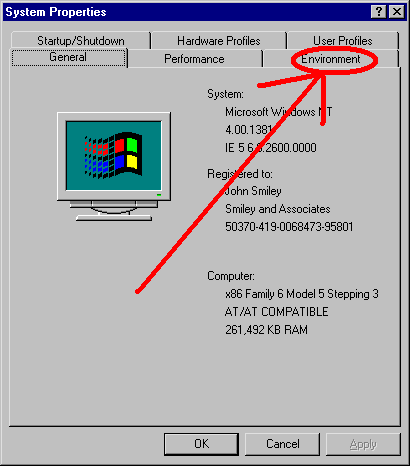
We're not quite done yet--the Path and ClassPath Variables At this point, you might think it quite reasonable to begin writing and compiling your first Java program--and with some effort we could do so, but our environment isn't quite set up perfectly yet. Although it seems quite reasonable that the Java installer will have properly prepared your PC to compile and run your program, unfortunately, you still have some work to do. Although at this point it is possible to compile and run a Java program, you would need to save your Java programs in the same folder into which the Java compiler has been installed---and this is a definite no-no. We want to be able to compile and execute our Java programs from anywhere on our PC--not just the Java folder itself. To do so means that we need to set up two environmental variables, the Path and ClassPath variables---how you set these up depends upon your Operating System. In Windows NT, for instance, which is what I'm running now, you need to select the System icon in the Windows Control Panel
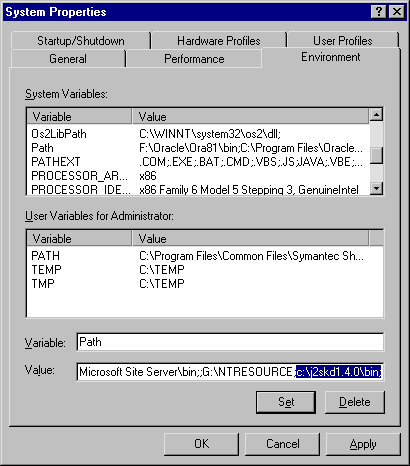
then select the Environment Tab
and then include the location of the 'bin' directory or folder of the installed Java SDK in the System Path environmental variable and also in the User Path environmental variable…
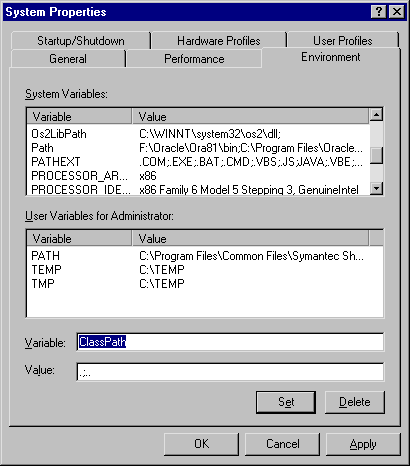
You'll then need to create a new environmental variable called ClassPath, which should have this value .;..
If you are running something besides Windows NT follow the directions below to update these variables…
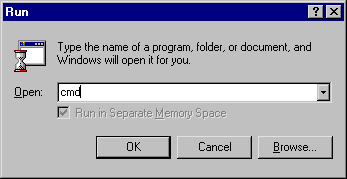
Verify the Path and ClassPath Variables You should now verify that these two variables have been set up properly--if they have, you will be able to see them when you exit to a Command Prompt. To exit to a Command Prompt, click on the Start-Run button and enter cmd in the Open Textbox…
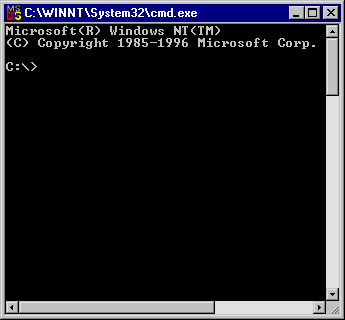
After you click on the OK button, you will see this window…
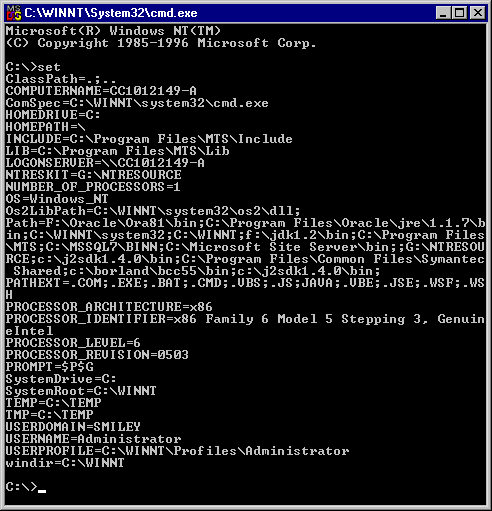
Type the word 'set' and you should see a screen similar to this one. You should see a reference to the 'bin' folder of the installed Java Development Kit, and you should also see a reference to the ClassPath variable…(if you wish, you can also type 'echo %path%' or 'echo %classpath%' to see only these variables)
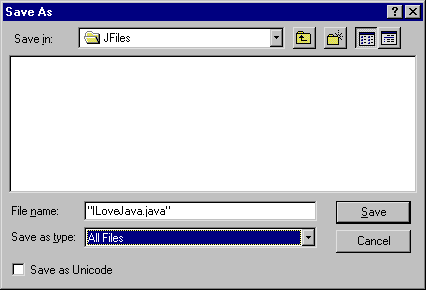
If for some reason you don't see a ClassPath reference, or a correct reference to C:\J2SDK1.4.0\bin in your path, double check the steps you took above--you must have missed something somewhere. Write your first Java programAfter having successfully installed the Java SDK, and set the environmental variables as described above, you shouldn't have to jump through any hoops to get the compiler to work. Writing your first Java program is easy--start up Notepad and enter the following code… class ILoveJava {public static void main(String[] arguments) { System.out.println("I love Java"); } } Now save the program as "ILoveJava.java" ( Java programs must end with a file name extension of .java. I recommend saving all of your Java programs in a folder called JFiles)
Compile your first Java program Now that you've saved your Java program, compiling it is easy---but we will need to run the compiler from a Command Prompt. To do so, click on the Start-Run button and enter cmd in the Open Textbox…
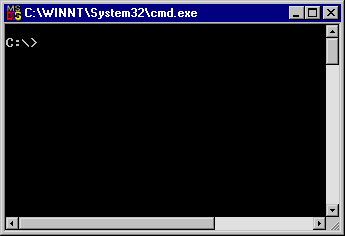
After you click on the OK button, you will see this window…
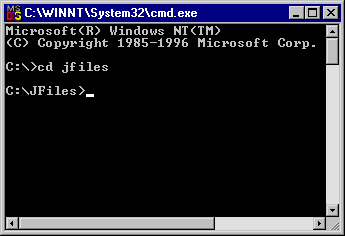
which is the Command Prompt window. Type cd \JFiles to make your JFiles folder your current directory…
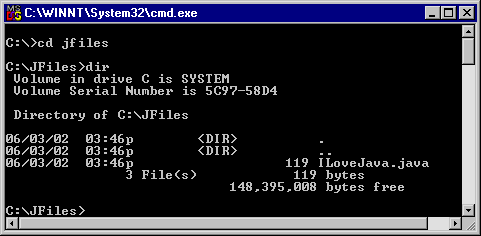
If you enter dir in the Command Prompt Window, you should see the Java program you just saved using Notepad.
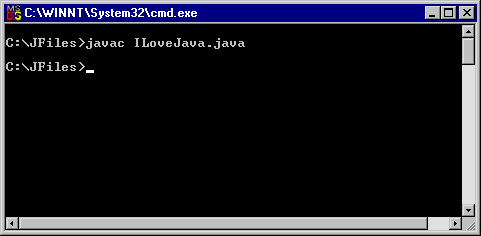
Now it's time to compile your program using the Java compiler, javac. Enter javac ILoveJava.java at the command prompt…
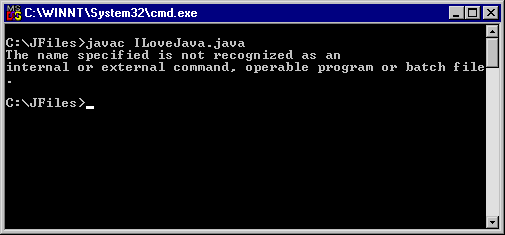
The absence of any error messages is great--that means that Windows was able to find the Java compiler (javac.exe) and that your source code has no errors. If there was a problem with Windows finding the Java compiler, you would have seen this error message
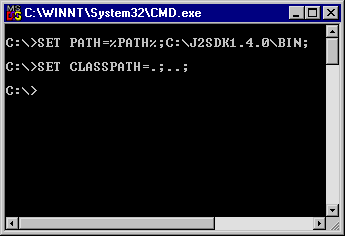
If that happens, verify once again that the location of the Java compiler is present in your Path variable. If you are getting so tense over this that you simple can't deal with it any longer, don't despair--rather than play around trying to set those variables, you can type these two statements at the command prompt SET PATH=%PATH%;C:\J2SDK1.4.0\BIN;
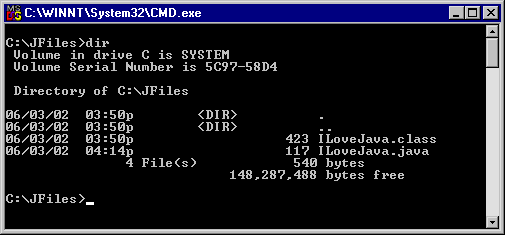
As I said, the absence of any error messages is great news--use the 'Dir' command to verify that your Java source file has been compiled into something called a Java class file…
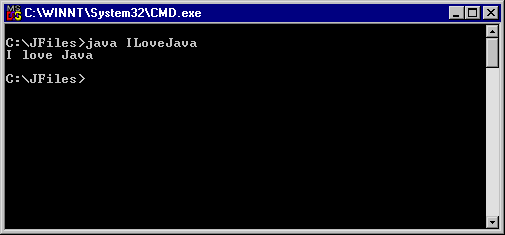
Execute your first Java program Executing your program is easy--just type this at the Command Prompt… java ILoveJava
You should see the phrase 'I love Java!' appear in the window. Summary I hope that this article will help you get started with Java. |
